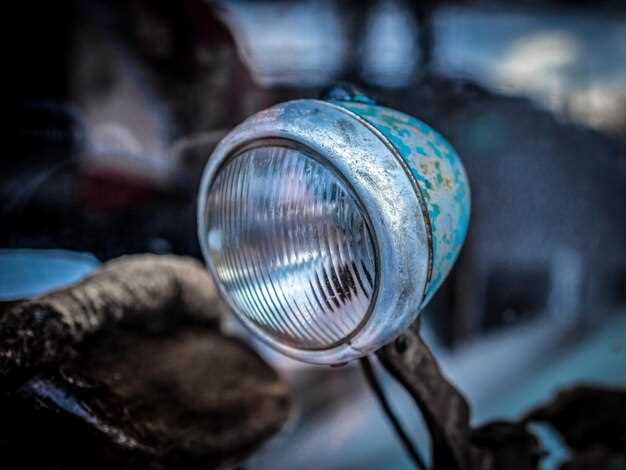
Ensuring optimal visibility during your off-road adventures is crucial, and a malfunctioning ATV headlight can significantly impair your driving experience. Whether you are navigating through dimly lit trails or challenging terrains, a broken headlight not only hinders your view but also compromises your safety. Fortunately, replacing a broken ATV headlight is a straightforward process that can be accomplished with a few basic tools and some guidance.
This comprehensive guide will take you through the necessary steps for headlight replacement, detailing everything from identifying the problem to installing the new light. With a bit of patience and the right information, you can successfully fix your ATV’s headlight and restore full functionality. Let’s delve into the process and get you back on track!
Assessing the Damage and Choosing the Right Replacement Headlight

Before attempting to fix a broken ATV headlight, it’s crucial to assess the extent of the damage. Start by carefully inspecting the headlight housing, lens, and wiring. Look for cracks, broken components, or any signs of water intrusion that could compromise functionality. If the lens is merely scratched but the bulb functions properly, you may consider buffing it out instead of a full replacement. However, if the damage is extensive, a complete replacement will be necessary for optimal visibility.
Once you’ve determined the state of the headlight, the next step is to choose the right replacement. Ensure you select a headlight that matches your ATV’s make, model, and year. Refer to your owner’s manual or consult a dealer for specifications. Consider the type of bulb as well; options include halogen, LED, and HID, each offering varying degrees of brightness and longevity. Choose a headlight that not only fits correctly but also enhances your night riding experience, providing clarity and safety on the trail.
Finally, pay attention to the installation process. Many replacement headlights come with a detailed guide, and ensuring proper installation is key to maintaining visibility and functionality. If necessary, enlist professional help to avoid complications that may arise from improper fitting or wiring issues.
Step-by-Step Removal of the Broken Headlight Assembly
To begin the process of removing the broken headlight assembly, ensure that your ATV is parked on a level surface and the ignition is turned off. This will guarantee safety while you work on the vehicle.
First, locate the screws or bolts that secure the headlight assembly in place. These are typically found behind the front plastic panel of the ATV. Using a suitable screwdriver or socket wrench, carefully remove these fasteners, taking care to set them aside in a safe location.
Next, gently pull the headlight assembly forward from its housing. You may need to apply some pressure, but be cautious to avoid damaging any surrounding components. If the assembly is stuck, check for any hidden screws that may not be immediately visible.
Once the broken assembly is loosened, disconnect the wiring harness attached to the back of the headlight. This usually involves pressing down on a tab and pulling the connector straight out. Ensure you do this slowly to avoid damaging the wires.
After detaching the wiring, you can fully remove the headlight assembly from the ATV. Take a moment to inspect the area for any debris or damaged components that may need attention before proceeding with the replacement.
This step is crucial in restoring visibility on your ATV. By properly removing the broken headlight assembly, you set the stage for an effective replacement, ultimately allowing you to fix any issues with your lighting system.
Installing the New Headlight and Ensuring Proper Alignment

Once you have your new headlight ready for installation, begin by carefully positioning it within the headlight housing. Make sure that the connecting wires are properly aligned and that the headlight fits snugly into place. It is essential to follow the manufacturer’s instructions to ensure compatibility and functionality.
Next, secure the headlight using the fasteners you’ve removed earlier. Tighten them adequately to avoid any vibrations that could cause the headlight to shift position during use. Once secured, reconnect the electrical connectors, ensuring a firm connection to maintain optimal performance.
After the installation, it is crucial to check the alignment of the new headlight. Improper alignment can severely affect visibility during night riding or in low-light conditions. With the ATV on a flat surface, stand approximately 25 feet away from a wall and turn on the headlight. Observe where the light beam is focused on the wall.
If the light beam is too high or too low, adjust the headlight using the alignment screws found on the housing. Turn the screws incrementally and recheck the beam’s position until it is correctly aligned. The top of the beam should ideally be just below the center of the wall to ensure maximum visibility without blinding oncoming traffic.
Finally, after confirming that the new headlight is securely installed and properly aligned, conduct a test ride. Evaluate the brightness and spread of the light to ensure it meets your visibility requirements. If necessary, make further adjustments until you achieve the desired performance.
 Skip to the content