 Skip to the content

Regular maintenance is crucial for the longevity and performance of your ATV. One of the most important aspects of this upkeep is performing an oil change. Not only does changing the oil help keep your engine clean, but it also ensures that your ATV runs smoothly and efficiently. Whether you are a seasoned rider or a DIY enthusiast new to the world of all-terrain vehicles, understanding the basic steps for an ATV oil change is essential.
In this article, we will guide you through the necessary steps to successfully change the oil in your ATV. From selecting the right type of oil to properly disposing of the old oil, each step is designed to help you take on this maintenance task with confidence. With a few tools and some basic knowledge, you can ensure your ATV remains in top condition for all your adventures.
Getting hands-on with your ATV’s oil change not only saves you money but also enhances your understanding of the machine. Follow these straightforward steps, and you’ll be well on your way to mastering the art of DIY ATV maintenance.
Choosing the Right Oil for Your ATV
Selecting the appropriate oil for your ATV is crucial for optimal performance and longevity. ATV engines operate under varying conditions, and the right oil can enhance engine efficiency while minimizing wear and tear.
When choosing oil, it is essential to consider the manufacturer’s recommendations. Always refer to the ATV’s owner manual for specifications regarding oil type and viscosity. Most manufacturers specify synthetic or conventional oils, which affect engine performance differently.
Synthetic oils are often preferred for their superior lubrication and temperature stability. They resist breakdown under high heat and maintain viscosity in cold conditions, making them ideal for extreme riding circumstances. Conventional oils, while less expensive, may not offer the same level of protection in harsh environments.
The viscosity rating is another critical factor. For most ATVs, a multi-viscosity oil, such as 10W-40, balances performance between hot and cold temperatures. This rating indicates the oil’s ability to flow at different temperatures, ensuring adequate lubrication during engine start-up and operation.
Additionally, consider the oil’s additive package, as it can affect the maintenance cycle. Oils with advanced additives help prevent sludge buildup and provide superior protection against oxidation and wear. This feature can extend the intervals between oil changes, saving time and money in the long run.
In summary, selecting the right oil is integral to your ATV’s maintenance routine. Adhere to manufacturer guidelines, consider the benefits of synthetic versus conventional oils, choose the correct viscosity, and examine the additive capabilities for best results.
Step-by-Step Guide to Draining and Replacing Oil
Proper maintenance of your ATV includes regular oil changes to ensure optimal performance and longevity. Performing a diy oil change is simple and can save you money. Follow these steps for a successful oil change.
Step 1: Gather Necessary Tools and Materials
Before starting, collect all required tools: an oil drain pan, a wrench set, a funnel, and a new oil filter (if applicable). You will also need fresh engine oil suitable for your ATV model.
Step 2: Prepare the ATV
Park the ATV on a flat surface and turn off the engine. Allow it to cool down completely. This step is crucial to avoid burns and ensure safety during the process.
Step 3: Drain the Old Oil
Locate the oil drain plug, usually at the bottom of the engine. Place the oil drain pan beneath it. Using the appropriate wrench, carefully remove the plug and let the old oil drain completely into the pan. This may take several minutes.
Step 4: Replace the Oil Filter
If your ATV has an oil filter, now is the time to replace it. Use an oil filter wrench to remove the old filter. Apply a small amount of new oil to the rubber gasket of the new filter before installing it to ensure a proper seal.
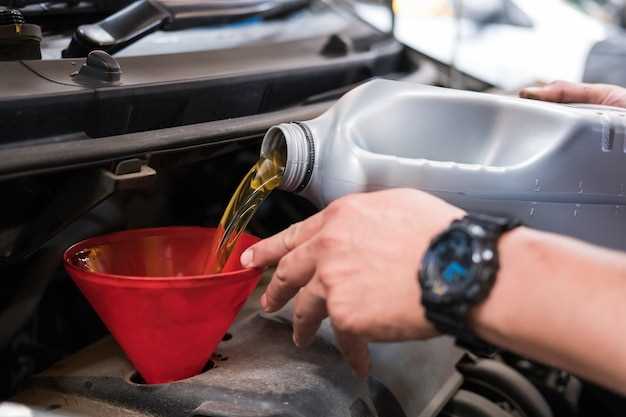
Step 5: Refilling with New Oil
Once the old oil has drained and the new filter is in place, replace the oil drain plug securely. Use the funnel to add fresh oil through the oil fill cap. Refer to your owner’s manual for the correct oil capacity to avoid overfilling.
Step 6: Check Oil Level
After filling, start the ATV and let it run for a minute. Check for leaks around the oil filter and drain plug. Turn off the engine and wait a few minutes. Use the dipstick to check the oil level, adding more if necessary.
Step 7: Dispose of Old Oil Properly
Dispose of the old oil and filter responsibly. Many auto parts stores or recycling centers accept used oil for safe disposal.
By following these steps, you can successfully change the oil in your ATV, ensuring its optimal performance and extending its life through proper maintenance.
Disposal Methods for Used ATV Oil

Proper disposal of used ATV oil is crucial for environmental protection and compliance with local regulations. Oil from your ATV not only contains harmful contaminants but can also be damaging to water sources if not disposed of correctly.
1. Local Recycling Centers: Many communities have recycling centers that accept used motor oil. This is one of the safest and most efficient ways to dispose of your oil. Check with your local waste management services to find a nearby facility that offers this service.
2. Automotive Repair Shops: Some auto shops and service centers will accept used oil for recycling. Contact local mechanics or ATV repair shops to inquire whether they participate in oil recycling programs. This is a convenient option as you can drop off your used oil during a regular service visit.
3. Hazardous Waste Collection Events: Many municipalities organize hazardous waste collection events throughout the year. These events allow residents to drop off various hazardous materials, including used oil. Look for announcements or schedules from your local waste authority.
4. DIY Disposal Systems: If you prefer a DIY approach, set up an oil collection system at home. Use a sealed container, label it clearly, and avoid mixing it with any other substances. Store it safely until you can take it to a recycling facility or a collection event.
5. Never Dump or Pour: It is critical to remember that dumping used oil on the ground, in the water, or disposing of it in regular trash is illegal and unsafe. Such actions can harm wildlife and lead to significant environmental damage.
By choosing one of these disposal methods, you not only protect the environment but also contribute to a sustainable community. Proper handling of used ATV oil ensures a cleaner future and promotes responsible ownership.